-30%
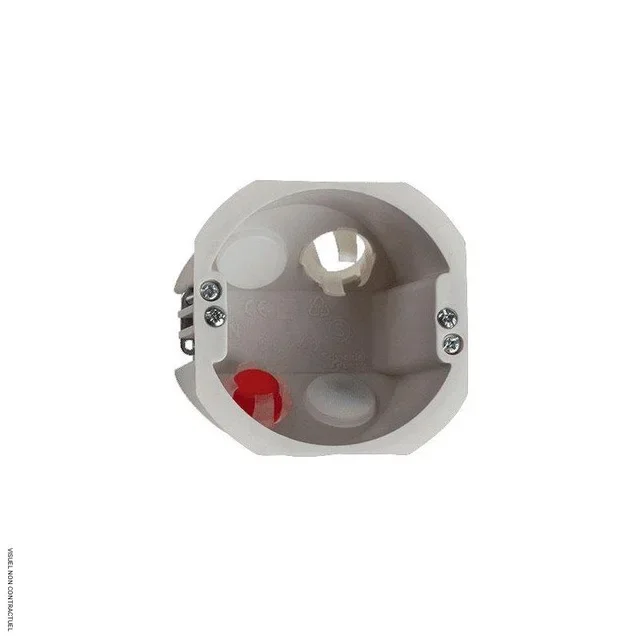
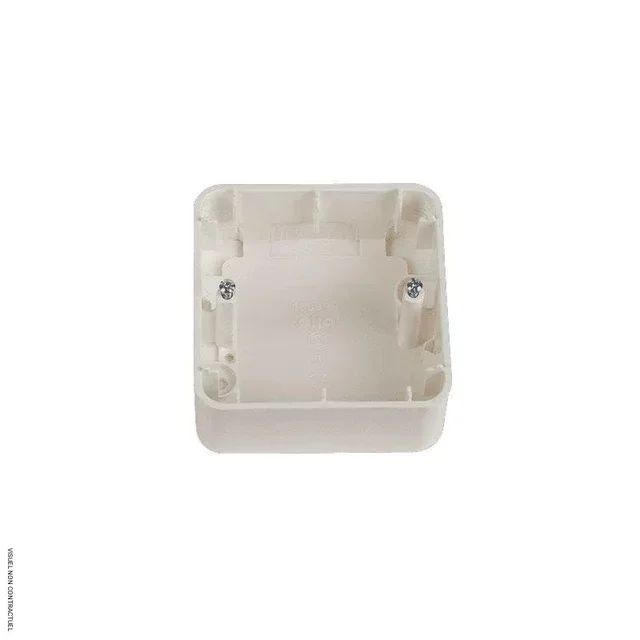
Enclosure
Lightweight Recessed Housing Heatcom
16.92€incl. tax·14.10€excl. tax
11.84€incl. tax·9.87€ excl. tax
Estimated delivery
from Wednesday 1 April
Order within 4h 10min
Easy returns
Return possible until 1 May 2026
| Brand | Heatcom |
| SKU | 5450299633 |
| EAN/GTIN | 5707359503477 |
| MPN | 53000001 |
| Category | Enclosure |
| Condition | New |
Enclosure
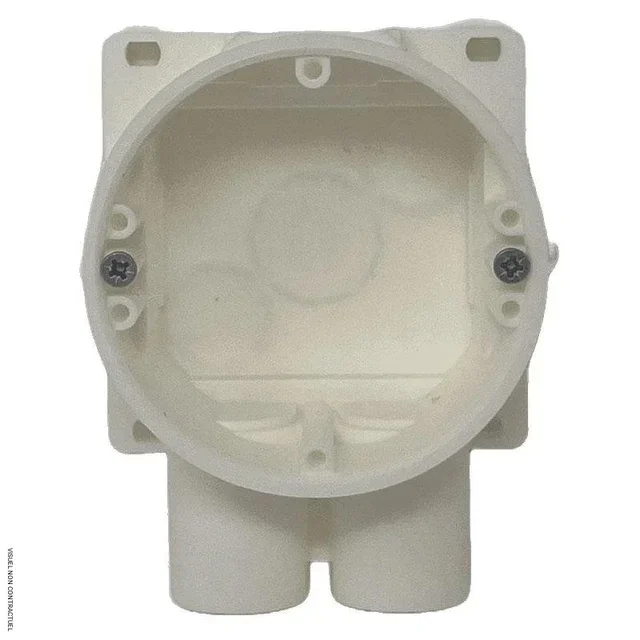
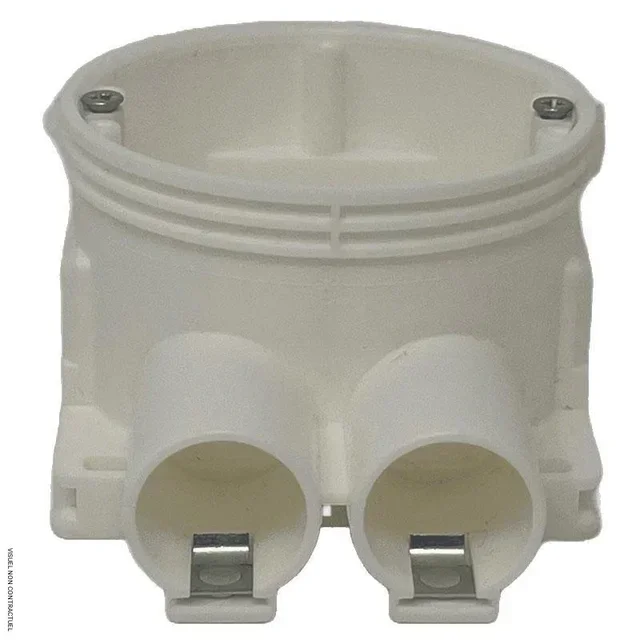
Enclosure
Valve

Valve